Good when the link is settled
A fixed QR works for a permanent WordPress page with a stable address.
Create one free HonestQR
WordPress guide
Use an Image block, upload the original file and size it deliberately. A screenshot or over-compressed thumbnail is asking for trouble.
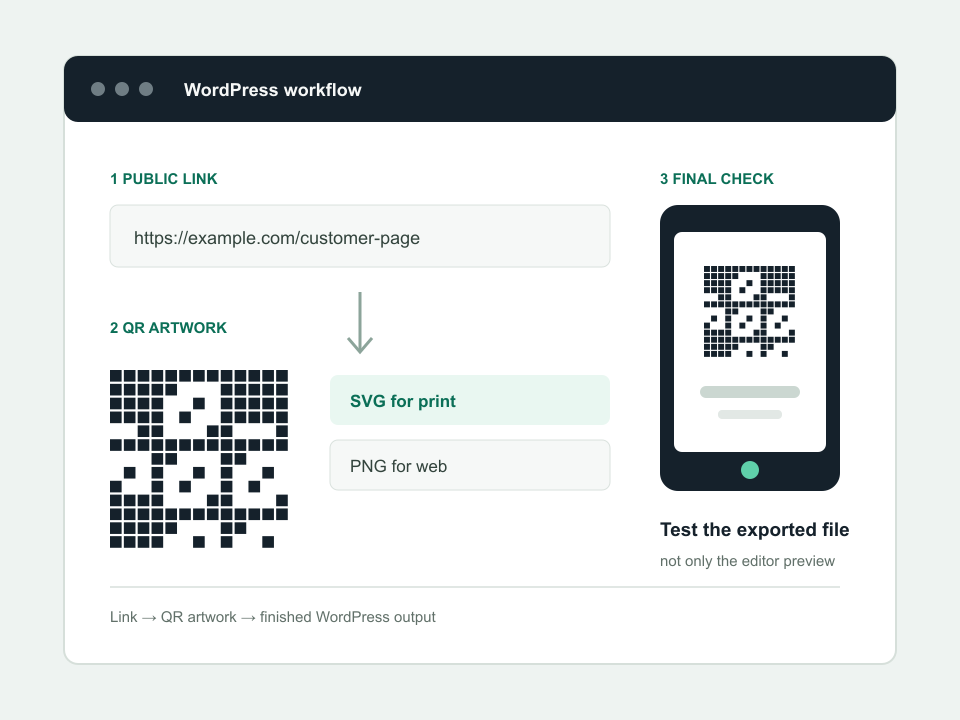
The reliable route
Open the destination while signed out. Drafts, previews and protected pages are not suitable for public QR codes.
Keep an SVG for print and use a large PNG for themes or editors that handle SVG poorly.
Upload the file from your device or Media Library. Add useful alt text, but do not shrink the image into a tiny column.
Scan the live WordPress page and the final print proof. Caching and responsive themes can change how an image is served.
Final check
Working example
This sample is deliberately plain. Reliable contrast and a clear border matter more than decoration.
 https://example.com/visitor-guide
A fixed QR works for a permanent WordPress page with a stable address.
Create one freeA dynamic QR makes sense when the destination, campaign or downloadable file may change.
HonestQR Pro includes 50 codes and 100,000 scans a month for $12.
Start 30 days freePlatform steps checked July 23, 2026 against the WordPress Image block guide. Product menus can change; tell us if a step has moved.
See the finished workflow
Use the short video beside the written checklist, then test the exported file or live page on a normal phone.
Watch the tutorial