Good when the link is settled
Use a fixed QR when the live Wix page address is permanent.
Create one free HonestQR
Wix guide
Upload the original QR file, place it as a normal image and check the live site. Avoid screenshots, decorative cropping and editor-only links.
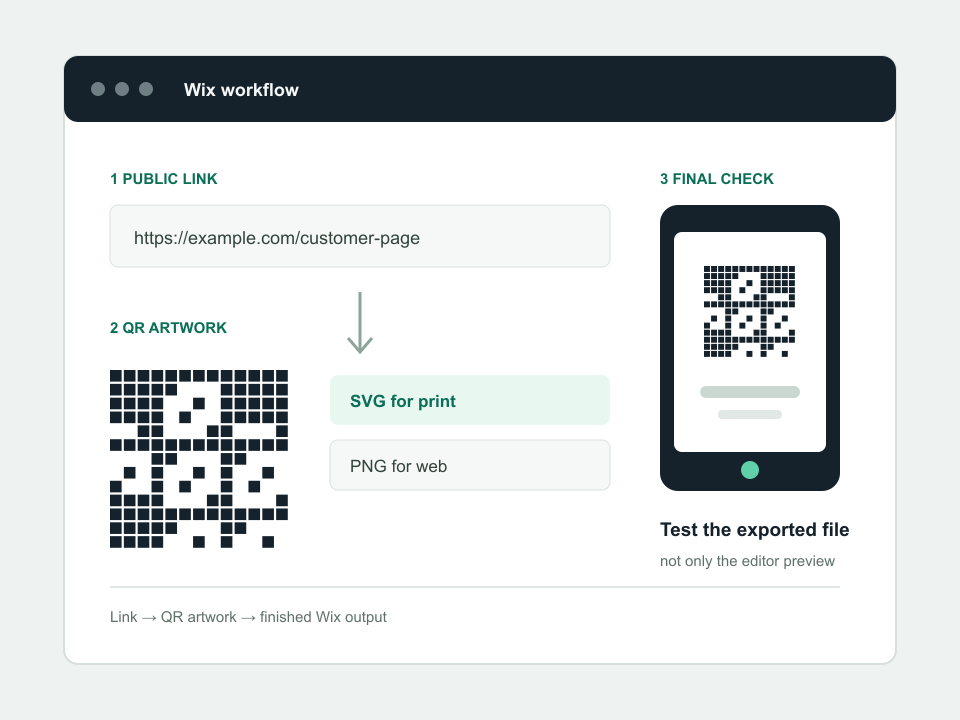
The reliable route
Open the live Wix URL on a phone before making the QR. Preview and editor addresses are not customer destinations.
Use a large PNG for a normal Wix image. If the QR is going to print, keep the SVG master for the printer.
Wix supports uploads from your computer or a URL. Keep the QR square and do not crop away the white border.
Test both the QR image shown on the website and any printed version. The live layout can differ from the editor.
Final check
Working example
This sample is deliberately plain. Reliable contrast and a clear border matter more than decoration.
 https://example.com/book
Use a fixed QR when the live Wix page address is permanent.
Create one freeUse a dynamic QR for booking campaigns, temporary pages or print you expect to reuse.
HonestQR Pro includes 50 codes and 100,000 scans a month for $12.
Start 30 days freePlatform steps checked July 23, 2026 against the Wix image upload guide. Product menus can change; tell us if a step has moved.
See the finished workflow
Use the short video beside the written checklist, then test the exported file or live page on a normal phone.
Watch the tutorial