Good when the link is settled
A fixed QR suits permanent care instructions or an evergreen public policy page.
Create one free HonestQR
Shopify guide
Use the storefront page customers should reach, download clean QR artwork, and keep each physical placement tied to one clear action.
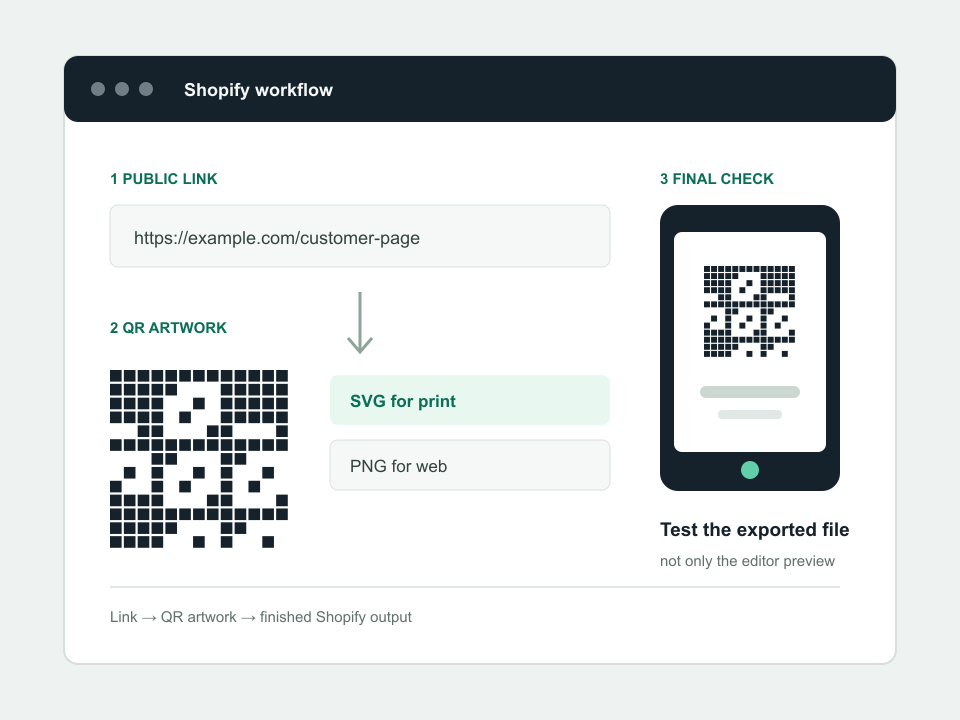
The reliable route
Link to the product, care guide, returns page or offer itself. Avoid sending every placement to the home page.
Separate packaging instructions, in-store reviews and repeat-purchase offers so each can be measured and changed independently.
Use SVG for print artwork and a large PNG where Shopify expects a raster image. Shopify advises using high-quality source images.
Scan the printed proof on mobile data. Confirm the page is published, fast and free of staff-only or preview links.
Final check
Working example
This sample is deliberately plain. Reliable contrast and a clear border matter more than decoration.
 https://example.com/products/care-guide
A fixed QR suits permanent care instructions or an evergreen public policy page.
Create one freeA dynamic QR is safer for campaigns, seasonal collections and packaging that will outlive the current page.
HonestQR Pro includes 50 codes and 100,000 scans a month for $12.
Start 30 days freePlatform steps checked July 23, 2026 against the Shopify image upload guide. Product menus can change; tell us if a step has moved.
See the finished workflow
Use the short video beside the written checklist, then test the exported file or live page on a normal phone.
Watch the tutorial