Good when the link is settled
Use a fixed QR when the destination will stay put. You can place the SVG in Canva and use the design forever.
Create one free HonestQR
Canva guide
Make the QR first, add it to the final design at the size it will be printed, then test the exported file rather than the editor preview.
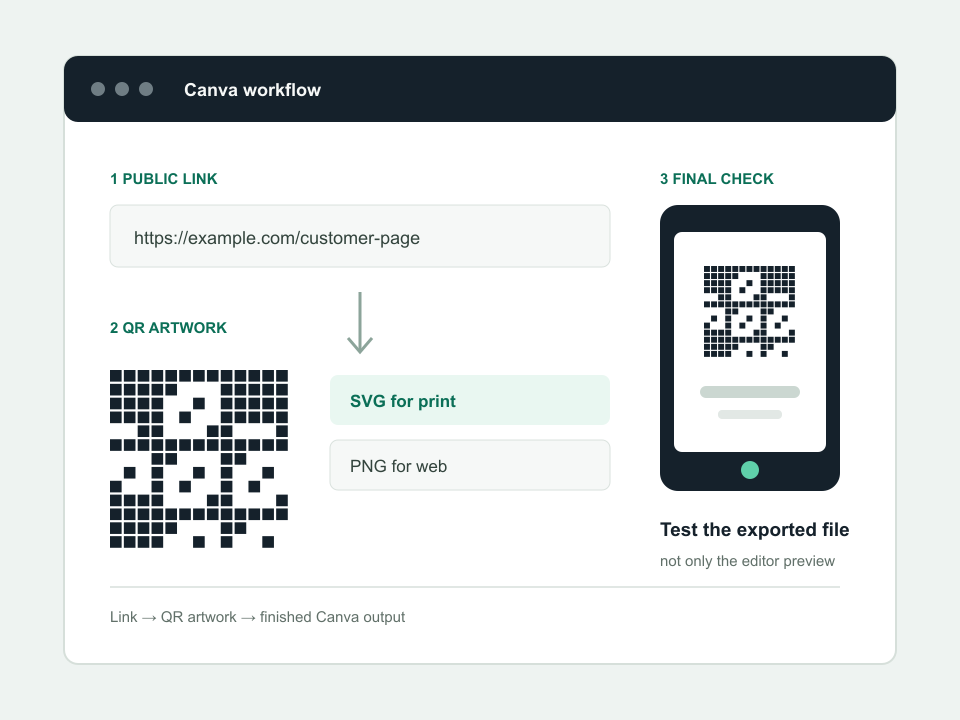
The reliable route
Open the page, file or form on a phone. A clean Canva layout cannot rescue a slow or private destination.
SVG stays sharp when the design is resized. Use PNG only when the Canva document or printer cannot accept SVG.
Do not take a screenshot. Upload the downloaded file, keep it square and leave clear space around all four sides.
Download the final PDF or image from Canva, view it at print size and scan with two phones before ordering copies.
Final check
Working example
This sample is deliberately plain. Reliable contrast and a clear border matter more than decoration.
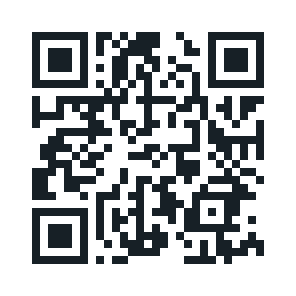 https://example.com/summer-menu
Use a fixed QR when the destination will stay put. You can place the SVG in Canva and use the design forever.
Create one freeUse a dynamic QR when the link may change after the Canva file has gone to print.
HonestQR Pro includes 50 codes and 100,000 scans a month for $12.
Start 30 days freePlatform steps checked July 23, 2026 against the Canva QR code generator. Product menus can change; tell us if a step has moved.
See the finished workflow
Use the short video beside the written checklist, then test the exported file or live page on a normal phone.
Watch the tutorial