Good when the link is settled
A fixed QR is fine for a form whose responder link will not change.
Create one free HonestQR
Google Forms guide
Publish the form for the right audience, copy the responder link rather than the editor address, and test it while signed out.
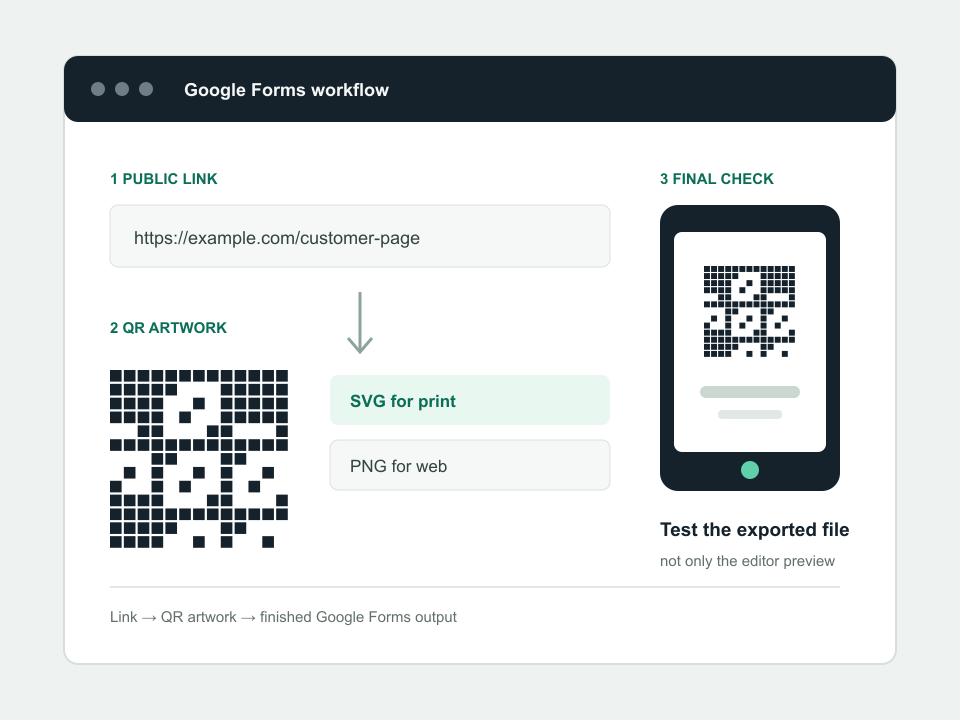
The reliable route
In Google Forms, use Publish and choose who can respond. A form that is still restricted will fail for walk-up scanners.
Use Preview, Published or Share and copy the responder link. Do not copy the address from the editing screen.
Paste that responder link into a fixed QR tool or create a dynamic QR if you may replace the form later.
Open the QR in a private browser window on a phone. Submit one test response and confirm it reaches the right sheet.
Final check
Working example
This sample is deliberately plain. Reliable contrast and a clear border matter more than decoration.
 https://docs.google.com/forms/d/e/example/viewform
A fixed QR is fine for a form whose responder link will not change.
Create one freeA dynamic QR lets you replace the form later without changing posters, cards or packaging.
HonestQR Pro includes 50 codes and 100,000 scans a month for $12.
Start 30 days freePlatform steps checked July 23, 2026 against the Google Forms responder sharing. Product menus can change; tell us if a step has moved.
See the finished workflow
Use the short video beside the written checklist, then test the exported file or live page on a normal phone.
Watch the tutorial